🎉 Up to 70% Off Selected ItemsShop Sale
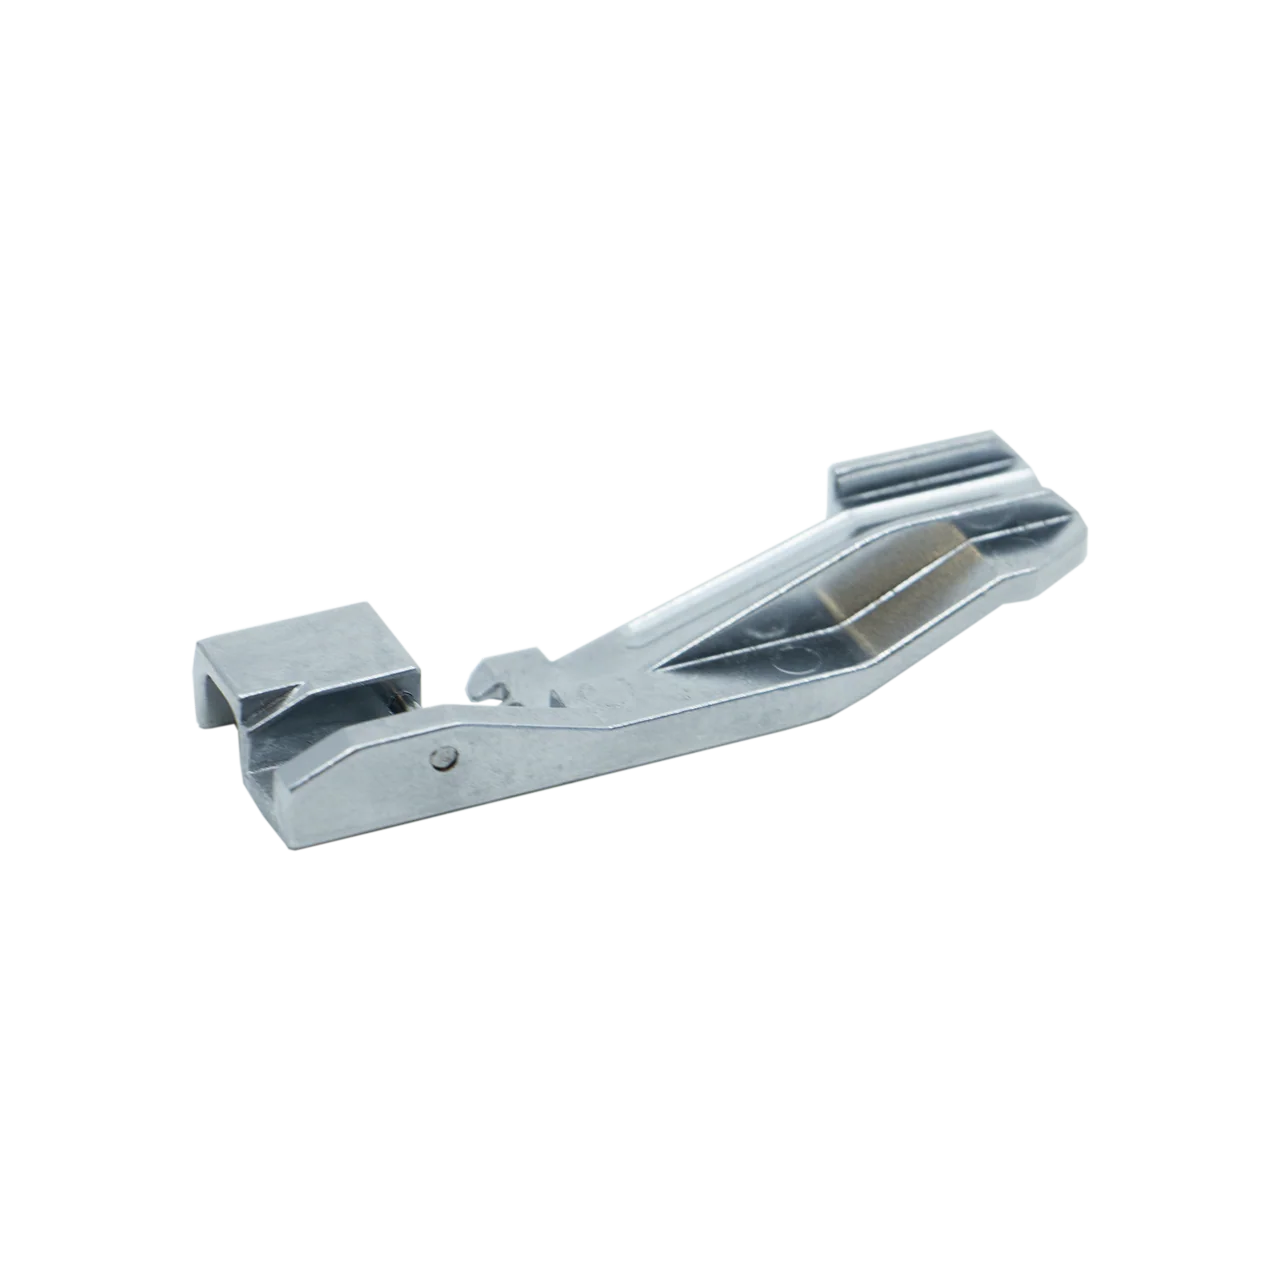
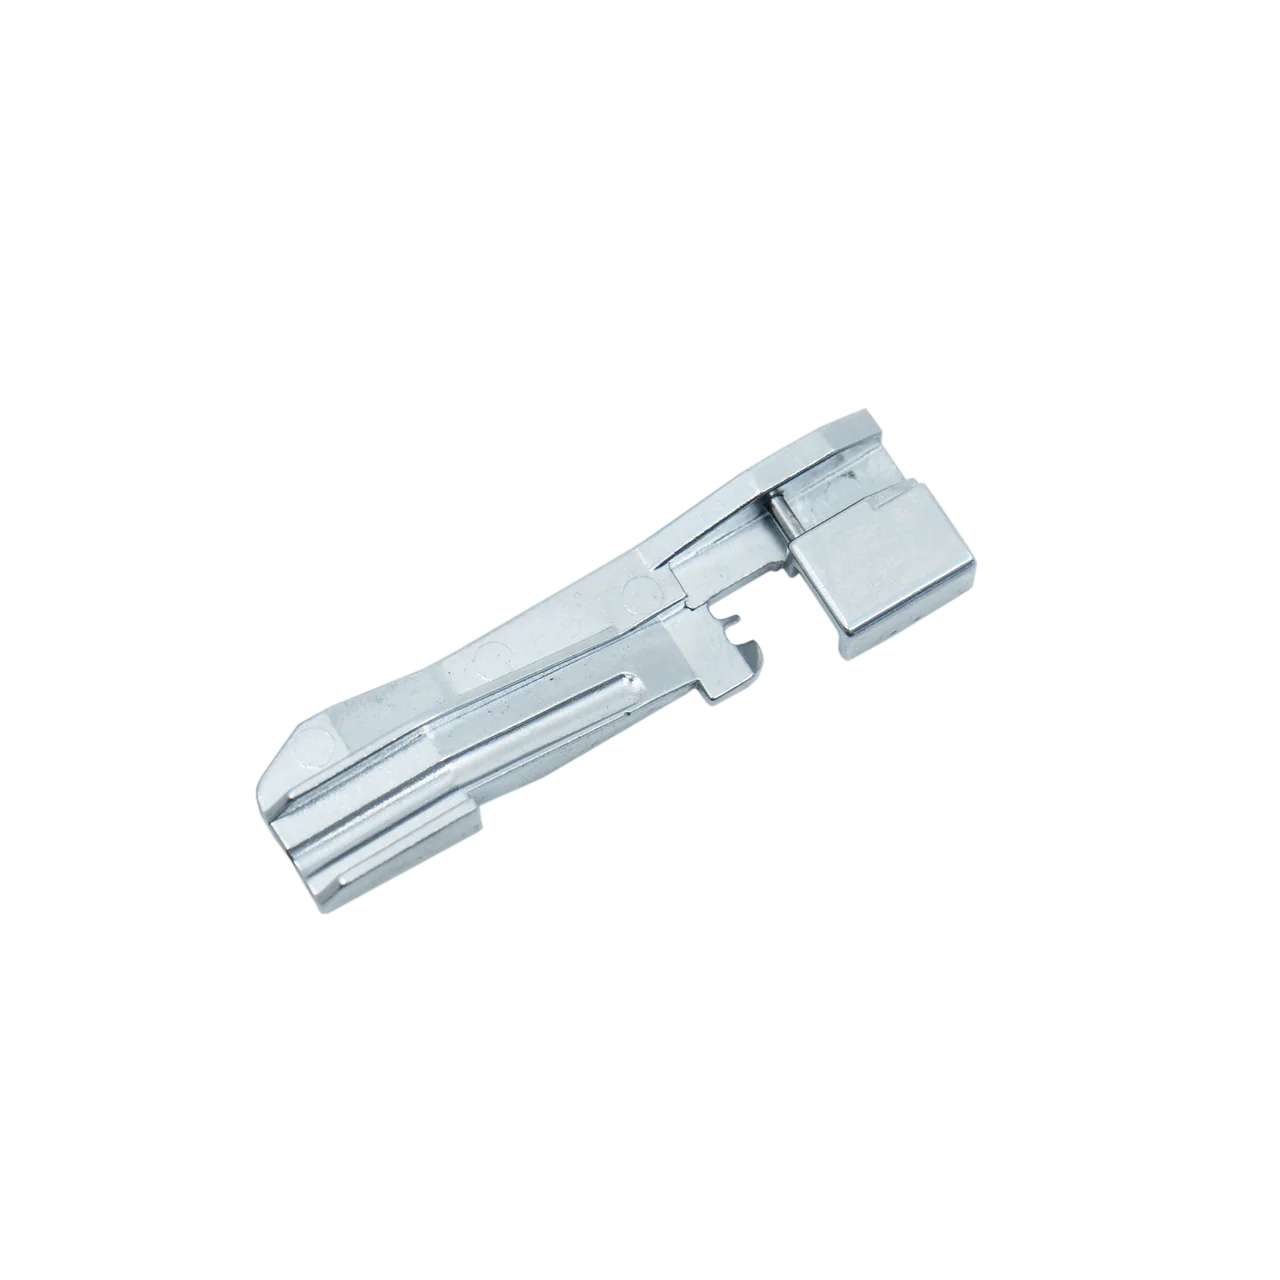
SINGER Bead Application Overlocker Presser Foot
Easily add beads, pearls, sequins and other embellishments to projects!
Suits the Following Models:
14HD Series 14SH Series 14U Series (With a change of shank. Required Shank 554239) SE017
How to use:
Preparing the Machine:
- Needle: Left or right (left is preferable)
- Stitch type: Three-thread overlock or wrapped edge overlock
- Stitch length: 3-4mm
- Differential feed lever: Normal position
- Upper knife: Working or non-working position.
Sewing:
- Select your sewing method, then determine the needle position and sew 2-3 stitches.
- Turn hand wheel with hand until needle point is lever with fabric surface on its upward stroke, then insert the end of the string of beads into the guide on the presser foot.
- Sew 2-3 stitches by turning the hand wheel.
- Press beads lightly with left finger while sewing.
- Sew the last few stitches by turning hand wheel to avoid beads interfacing with the needle and loopers.
$12.83
Original: $42.76
-70%SINGER Bead Application Overlocker Presser Foot—
$42.76
$12.83Product Information
Product Information
Shipping & Returns
Shipping & Returns
Description
Easily add beads, pearls, sequins and other embellishments to projects!
Suits the Following Models:
14HD Series 14SH Series 14U Series (With a change of shank. Required Shank 554239) SE017
How to use:
Preparing the Machine:
- Needle: Left or right (left is preferable)
- Stitch type: Three-thread overlock or wrapped edge overlock
- Stitch length: 3-4mm
- Differential feed lever: Normal position
- Upper knife: Working or non-working position.
Sewing:
- Select your sewing method, then determine the needle position and sew 2-3 stitches.
- Turn hand wheel with hand until needle point is lever with fabric surface on its upward stroke, then insert the end of the string of beads into the guide on the presser foot.
- Sew 2-3 stitches by turning the hand wheel.
- Press beads lightly with left finger while sewing.
- Sew the last few stitches by turning hand wheel to avoid beads interfacing with the needle and loopers.